 Daytime
![ifc2 and Hong Kong Observation Wheel [Landscape][Close-up photograph]](https://snaphouse-hk.com/media/catalog/product/cache/2/small_image/x300/9ca8b823a32ad5763258b89815996a85/S/H/SHHK8917351001309804104L_M.jpg)
ifc2 and Hong Kong Observation Wheel [Landscape][Close-up photograph]
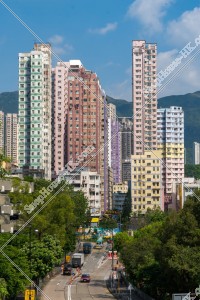
Street view of Wong Tai Sin, No.4
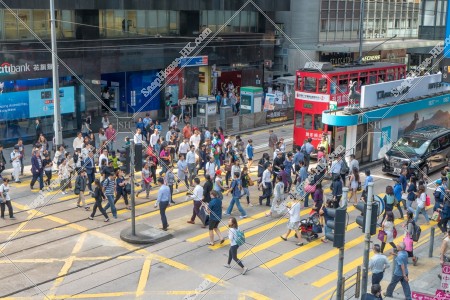
People across the road at Central
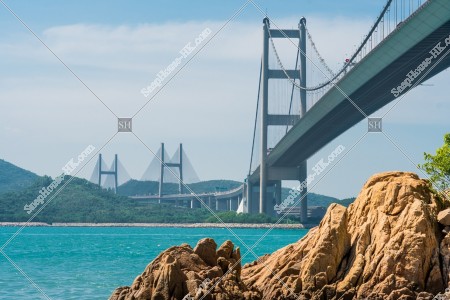
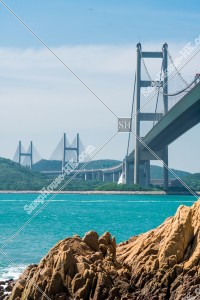
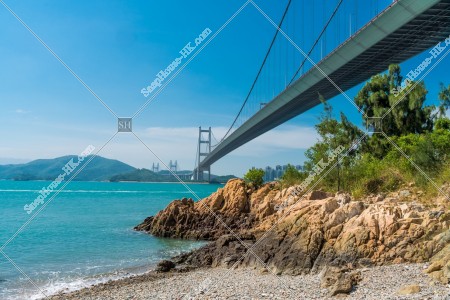
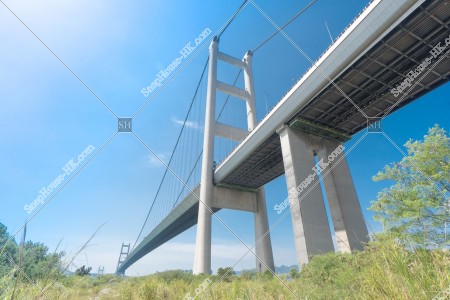
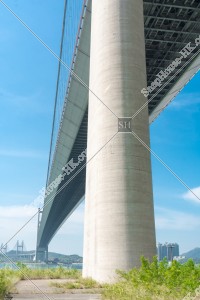
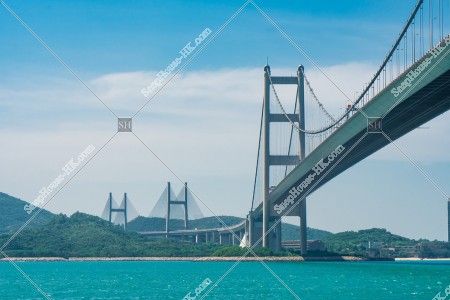
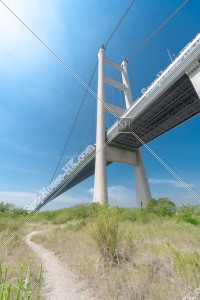
Tsing Ma Bridge with Ma Wan Channel, No.1
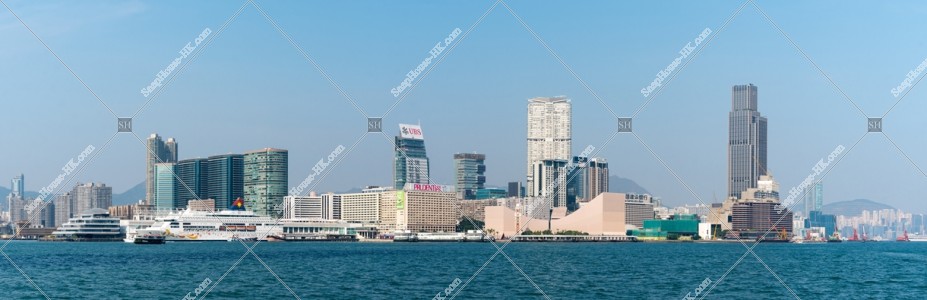
Panoramic view at noon of Tsim Sha Tsui
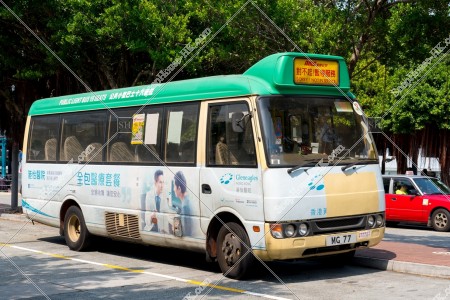
Mini bus in parking
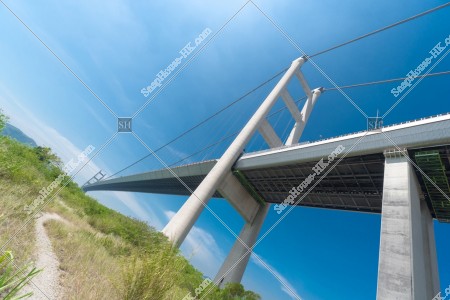
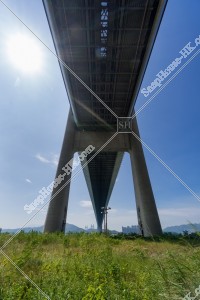
Tsing Ma Bridge with blue sky, No.4
![Choi Hung Estate Portrait Shot [Portrait]](https://snaphouse-hk.com/media/catalog/product/cache/2/small_image/x300/9ca8b823a32ad5763258b89815996a85/S/H/SHHK8917351001259801933HL2_M.jpg)
Choi Hung Estate Portrait Shot [Portrait]
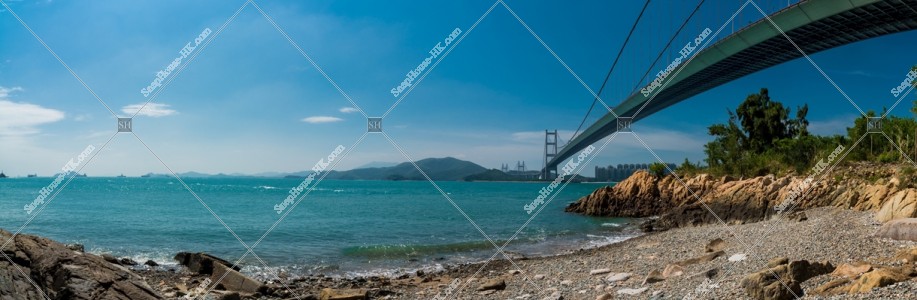
Ma Wan Channel beach
![Choi Hung Estate and basketball court [Landscape]](https://snaphouse-hk.com/media/catalog/product/cache/2/small_image/x300/9ca8b823a32ad5763258b89815996a85/S/H/SHHK8917351001259801348HL_M.jpg)
Choi Hung Estate and basketball court [Landscape]
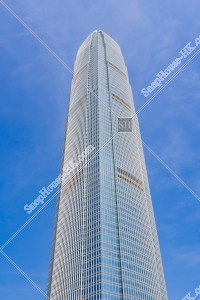
View at the top of ifc2
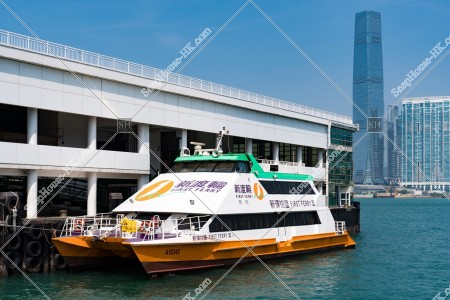
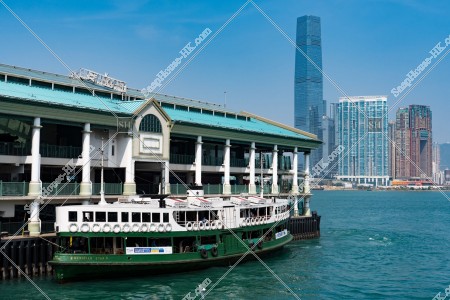
Star ferry Pier in stopping
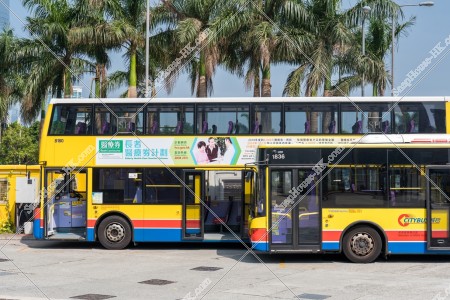
Normal City bus, and double decked bus
![Star ferry Pier in stopping [Close-up photograph]](https://snaphouse-hk.com/media/catalog/product/cache/2/small_image/x300/9ca8b823a32ad5763258b89815996a85/S/H/SHHK8917351001309804305L_M.jpg)
Star ferry Pier in stopping [Close-up photograph]
![The upper part of ifc2 and the Hong Kong Observation Wheel [Portrait]](https://snaphouse-hk.com/media/catalog/product/cache/2/small_image/x300/9ca8b823a32ad5763258b89815996a85/S/H/SHHK8917351001309804220L_M.jpg)
The upper part of ifc2 and the Hong Kong Observation Wheel [Portrait]
Body of Rickshaw sightseeing bus
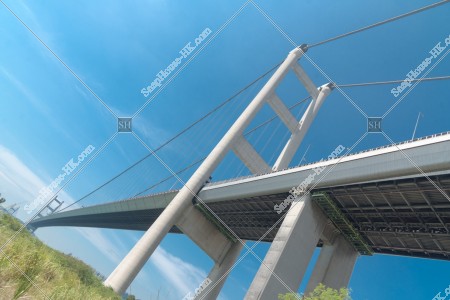
Tsing Ma Bridge with blue sky, No.1
Tsing Ma Bridge with Ma Wan Channel, No.2
![Choi Hung Estate [Shooting wide angle]](https://snaphouse-hk.com/media/catalog/product/cache/2/small_image/x300/9ca8b823a32ad5763258b89815996a85/S/H/SHHK8917351001259801959PL_M.jpg)
Choi Hung Estate [Shooting wide angle]
Star Ferry Pier arrived at Star ferry Berth
![The Hong Kong Observation Wheel and the skyline [Close-up photograph]](https://snaphouse-hk.com/media/catalog/product/cache/2/small_image/x300/9ca8b823a32ad5763258b89815996a85/S/H/SHHK8917351001309804109L_M.jpg)
The Hong Kong Observation Wheel and the skyline [Close-up photograph]
Tsing Ma Bridge with blue sky, No.13
![The Hong Kong Observation Wheel [Close-up photograph]](https://snaphouse-hk.com/media/catalog/product/cache/2/small_image/x300/9ca8b823a32ad5763258b89815996a85/S/H/SHHK8917351001309804205L_M.jpg)
The Hong Kong Observation Wheel [Close-up photograph]
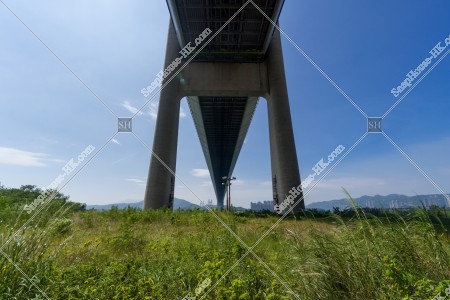
Tsing Ma Bridge with blue sky, No.10
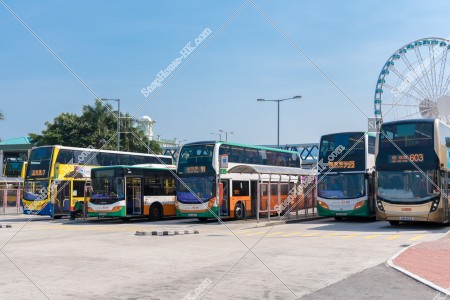
First bus, City bus, KMB bus
Tsing Ma Bridge with Ma Wan Channel beach, No.3
![Choi Hung Estate and basketball court [Landscape] [Close-up photograph]](https://snaphouse-hk.com/media/catalog/product/cache/2/small_image/x300/9ca8b823a32ad5763258b89815996a85/S/H/SHHK8917351001259801609HLS_M.jpg)
Choi Hung Estate and basketball court [Landscape] [Close-up photograph]
Tsing Ma Bridge with Ma Wan Channel, No.3
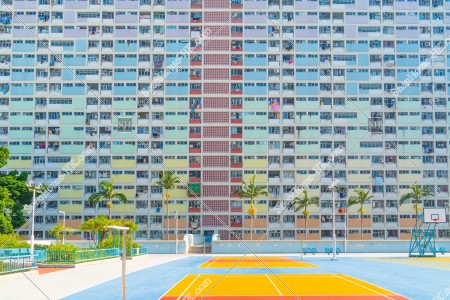
Choi Hung Estate and basketball court
Mainly Choi Hung Estate
Tsing Ma Bridge with blue sky, No.6
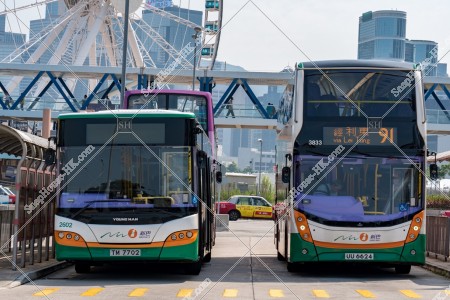
Normal First bus, and double decked bus
![View of the Hong Kong Observation Wheel and the high-rise buildings at Wan Chai [Landscape] [Close-up photograph] ④](https://snaphouse-hk.com/media/catalog/product/cache/2/small_image/x300/9ca8b823a32ad5763258b89815996a85/S/H/SHHK8917351001309804499L_M.jpg)
View of the Hong Kong Observation Wheel and the high-rise buildings at Wan Chai [Landscape] [Close-up photograph] ④
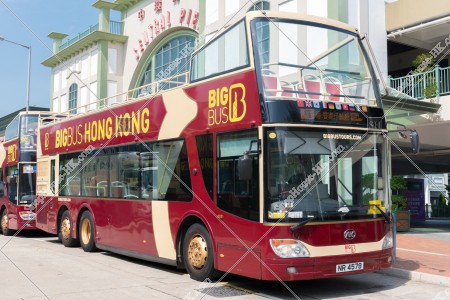
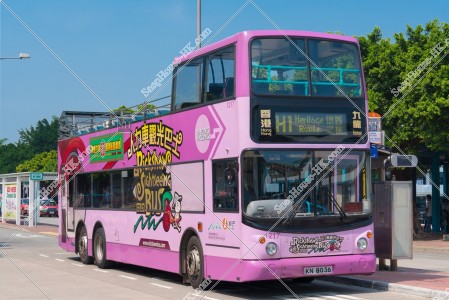
Rickshaw sightseeing bus "BIG BUS", No.2
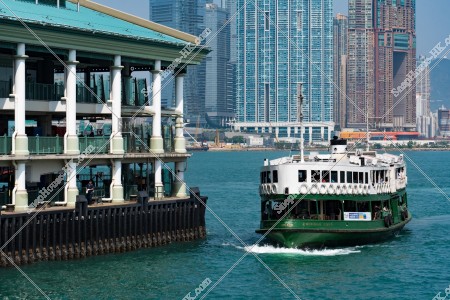
Star Ferry Pier arrived at Star ferry Berth
![ifc2 and The Hong Kong Observation Wheel [Portrait][Close-up photograph] ②](https://snaphouse-hk.com/media/catalog/product/cache/2/small_image/x300/9ca8b823a32ad5763258b89815996a85/S/H/SHHK8917351001309804155L_M.jpg)
ifc2 and The Hong Kong Observation Wheel [Portrait][Close-up photograph] ②
Tsing Ma Bridge with Ma Wan Channel beach, No.2
![Choi Hung Estate [Landscape] [Close-up photograph]](https://snaphouse-hk.com/media/catalog/product/cache/2/small_image/x300/9ca8b823a32ad5763258b89815996a85/S/H/SHHK8917351001259801933HL_M.jpg)
Choi Hung Estate [Landscape] [Close-up photograph]

The view of Central at afternoon.
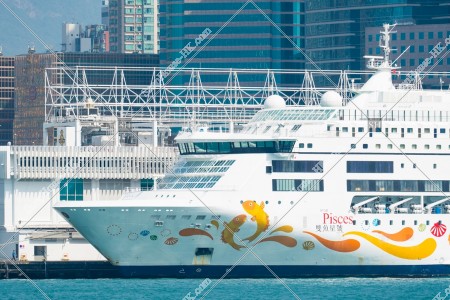
Luxury cruise ship stopping in Tsim Sha Tsui
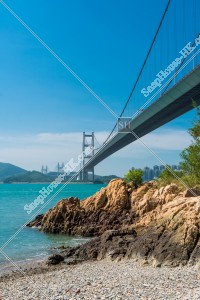
Tsing Ma Bridge with Ma Wan Channel beach, No.1
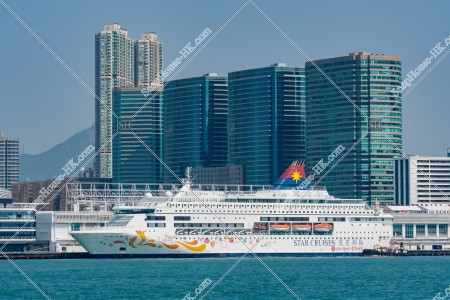
Luxury cruise ship in stopping and Tsim Sha Tsui
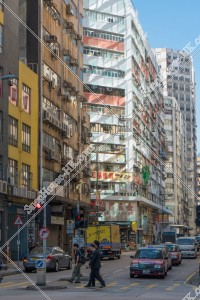
Street view of Kowloon Bay
![Choi Hung Estate and basketball court [Portrait]](https://snaphouse-hk.com/media/catalog/product/cache/2/small_image/x300/9ca8b823a32ad5763258b89815996a85/S/H/SHHK8917351001259801591HLS_M.jpg)
Choi Hung Estate and basketball court [Portrait]
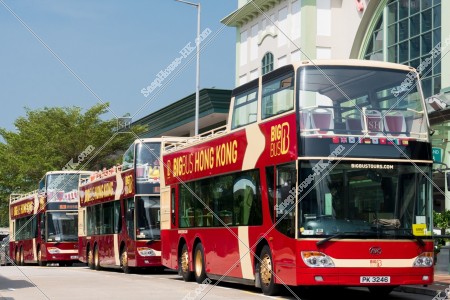
Sightseeing bus "BIG BUS" in stopping
![Star Ferry Pier 10 Berth at Central [Side view]](https://snaphouse-hk.com/media/catalog/product/cache/2/small_image/x300/9ca8b823a32ad5763258b89815996a85/S/H/SHHK8917351001309804148L_M.jpg)
Star Ferry Pier 10 Berth at Central [Side view]
![Packing of Star Ferry Pier 10 Berth at Central [Inside view]](https://snaphouse-hk.com/media/catalog/product/cache/2/small_image/x300/9ca8b823a32ad5763258b89815996a85/S/H/SHHK8917351001309804142L_M.jpg)
Packing of Star Ferry Pier 10 Berth at Central [Inside view]
Tsing Ma Bridge with blue sky, No.5
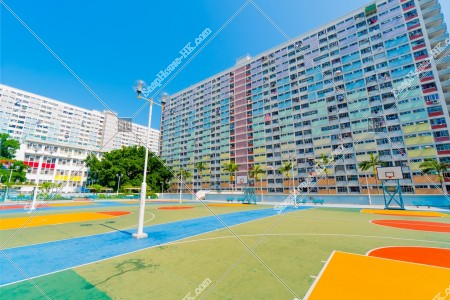
Choi Hung Estate and Overall basketball court
 © 2017-2018 SnapHouse HK. All Rights Reserved.