 Time zone
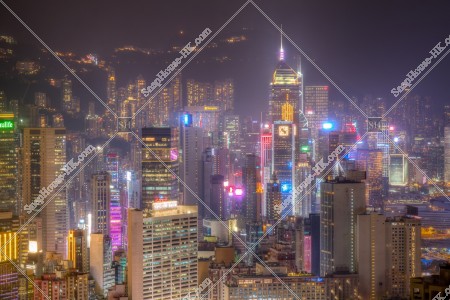
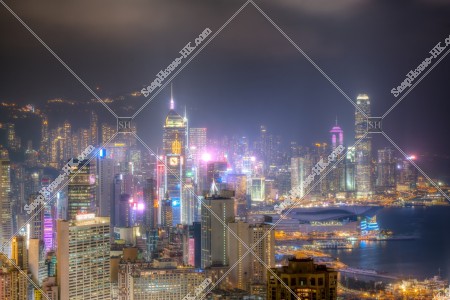
Night view of high-rise buildings at Wan Chai, No.2
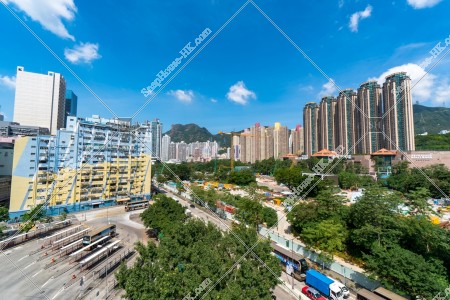
Lion Rock and street view of Diamond Hill, No.2
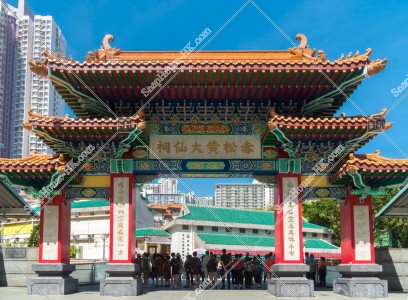
The gate of Wong Tai Sin Temple, No.2
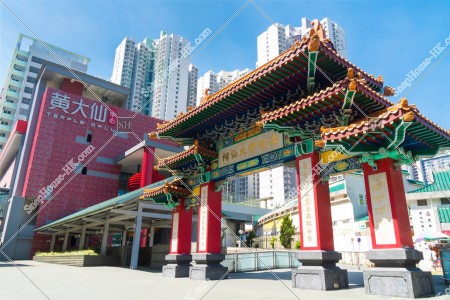
The gate of Wong Tai Sin Temple, No.4
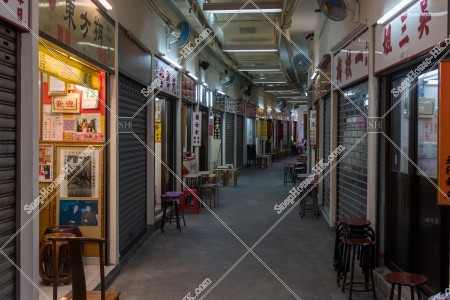
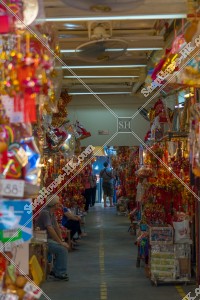
Wong Tai Sin Fortune-telling and Oblation Arcade at Wong Tai Sin Temple, No.2

Wong Tai Sin Fortune-telling and Oblation Arcade at Wong Tai Sin Temple, No.1
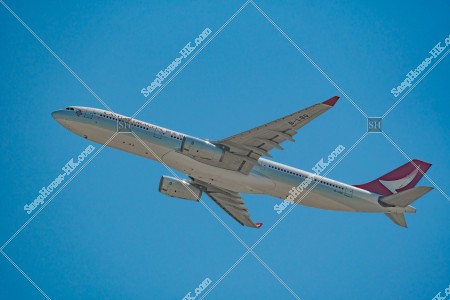
Cathay Dragon Airplane, No.3
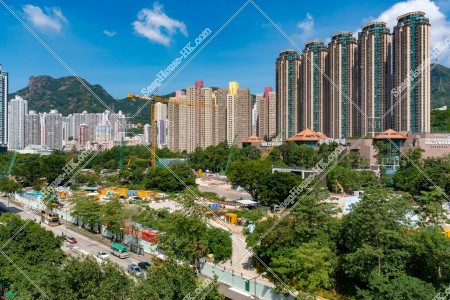
Lion Rock and street view of Diamond Hill, No.3
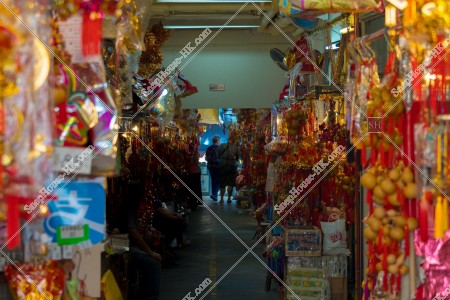
Shops at Wong Tai Sin Temple, No.3
Downtown Causeway Bay at night, No.5
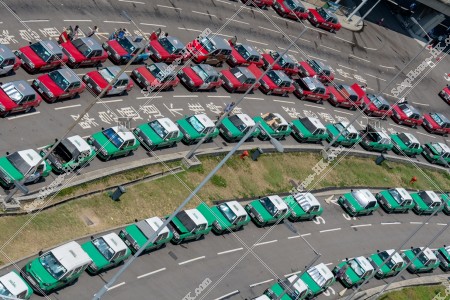
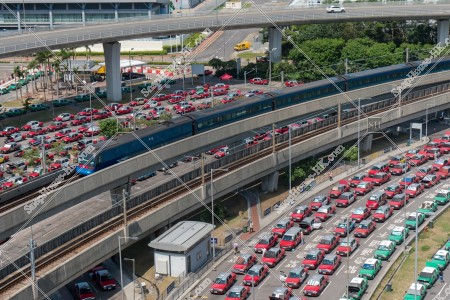
Urban taxis and New Territories taxis at Terminal 1, Hong Kong International Airport, No.2
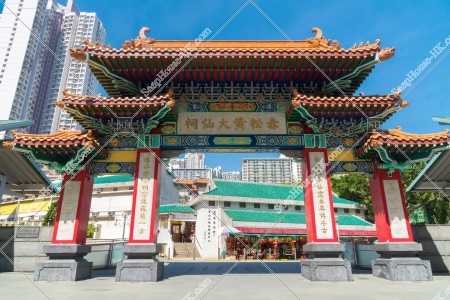
The gate of Wong Tai Sin Temple, No.3
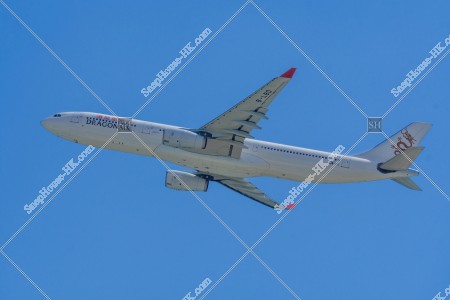
Cathay Dragon Airplane, No.1
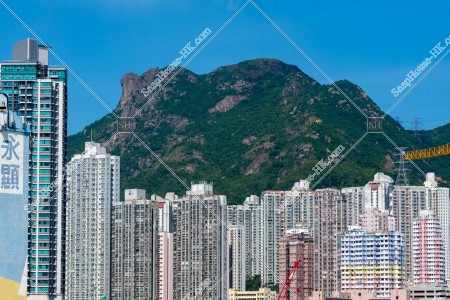
Lion Rock and street view of Wong Tai Sin, No.3

Giraffe of Supreme Paradise Pai-fong (第一洞天牌坊 at Wong Tai Sin Temple
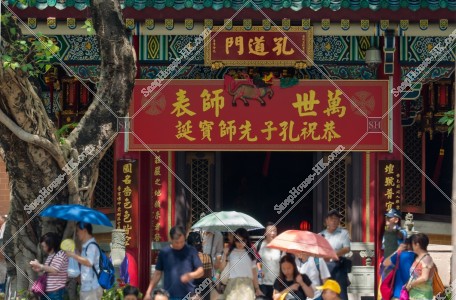
Confucian Veranda(孔道門) at Wong Tai Sin Temple, No.1
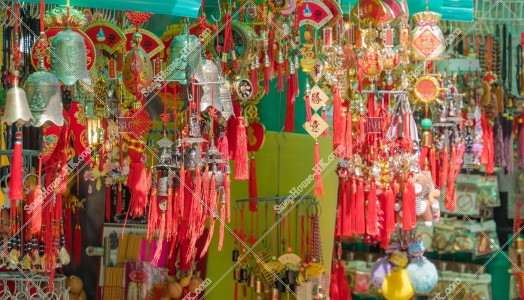
Shops at Wong Tai Sin Temple, No.2
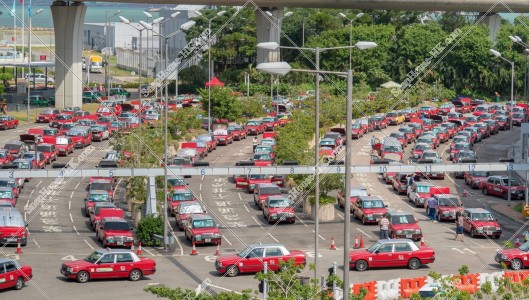
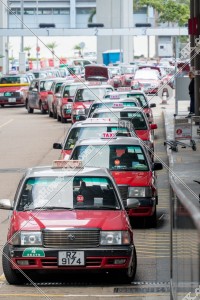
Urban taxis at Terminal 1, Hong Kong International Airport, No.1
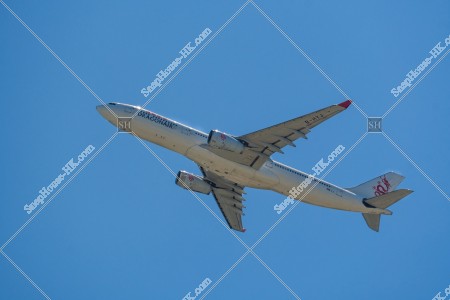
Cathay Dragon Airplane, No.2
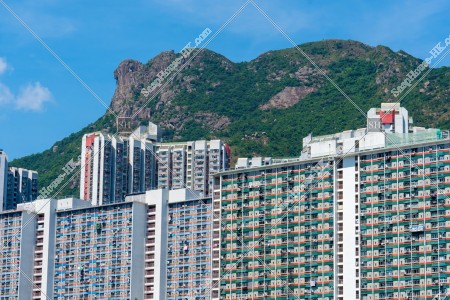
Lion Rock and street view of Wong Tai Sin, No.6
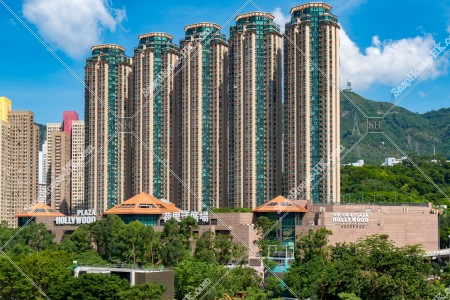
Landscape of Diamond Hill, No.1

Urban taxis and New Territories taxis at Terminal 1, Hong Kong International Airport, No.4
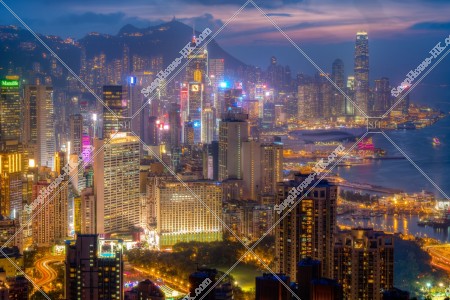
Night view of high-rise buildings at Causeway Bay to Central, No.2
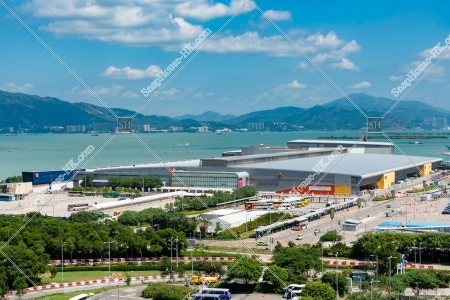
AsiaWorld-Expo, Chek Lap Kok, No.1
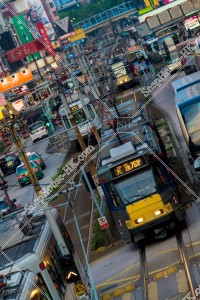
Street view of Yuen Long with Light Rail, No.11
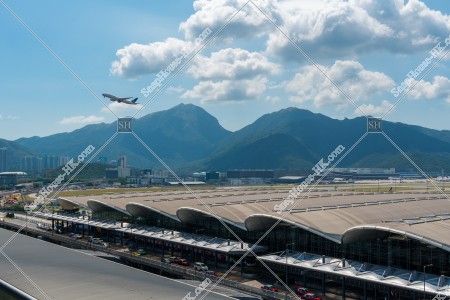
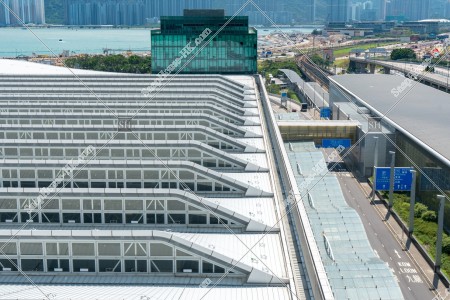
Landscape of Terminal 1, view from SkyDeck at Hong Kong International Airport, No.1
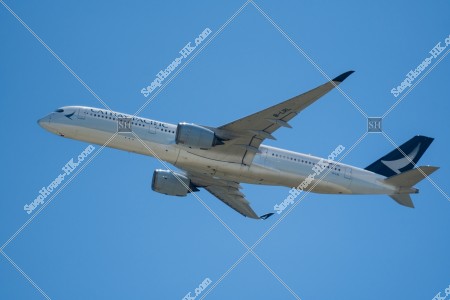
Cathay Pacific Airplane, No.1
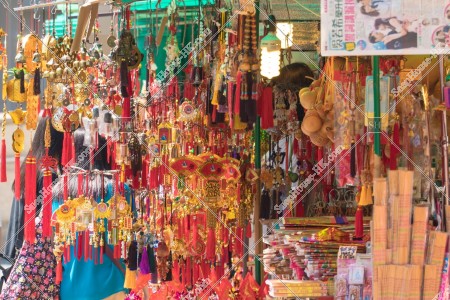
Shops at Wong Tai Sin Temple, No.1
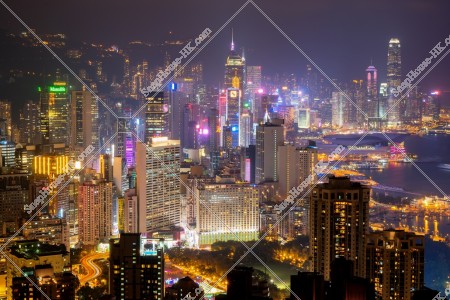
Night view of high-rise buildings at Causeway Bay to Central, No.3

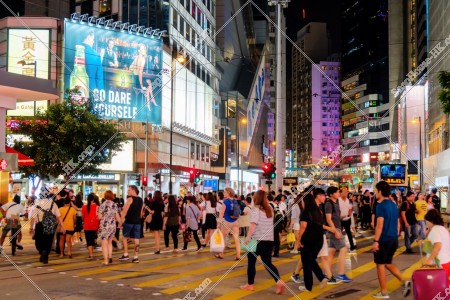
Street view of Sai Yeung Choi Street with people, Mong Kok, No.7
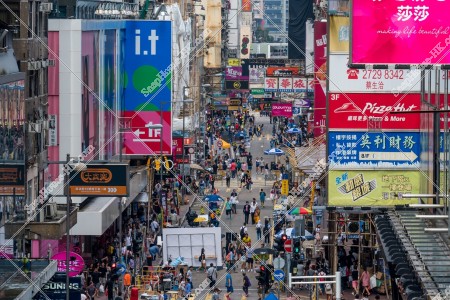
Street view of Sai Yeung Choi Street with people, Mong Kok, No.6
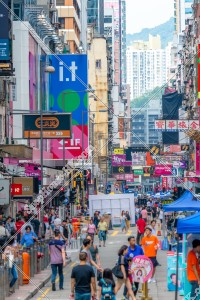
Street view of Sai Yeung Choi Street with people, Mong Kok, No.8
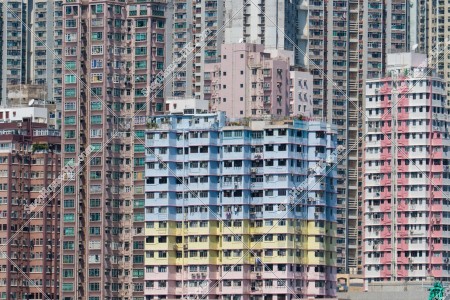
View of buildings at Wong Tai Sin, No.2
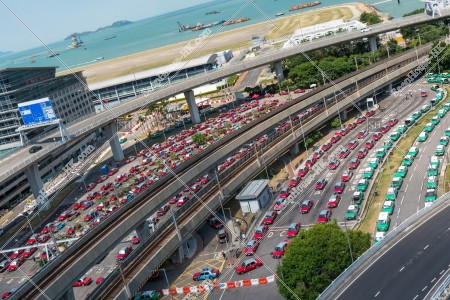
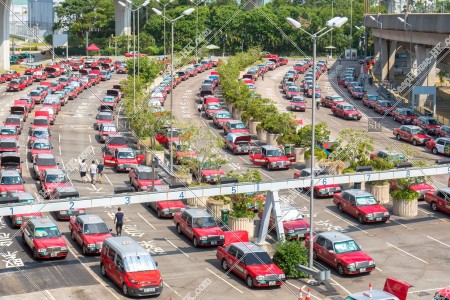
Urban taxis and New Territories taxis at Terminal 1, Hong Kong International Airport, No.1
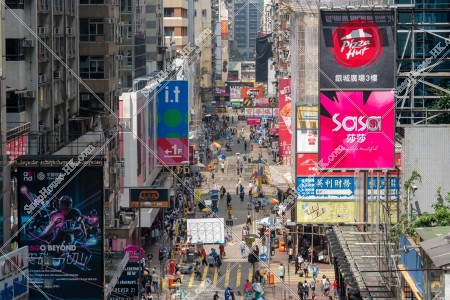
Street view of Sai Yeung Choi Street with people, Mong Kok, No.5
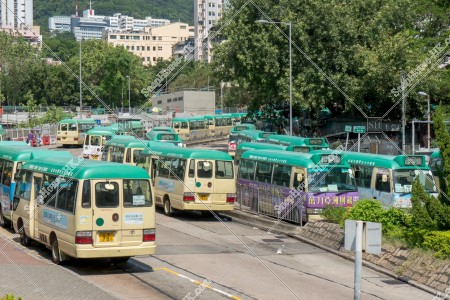
Mini Bus Terminal bus stop, No.1
Urban taxis at Terminal 1, Hong Kong International Airport, No.2
Landscape of Terminal 2, view from SkyDeck at Hong Kong International Airport, No.1
Urban taxis and New Territories taxis at Terminal 1, Hong Kong International Airport, No.3
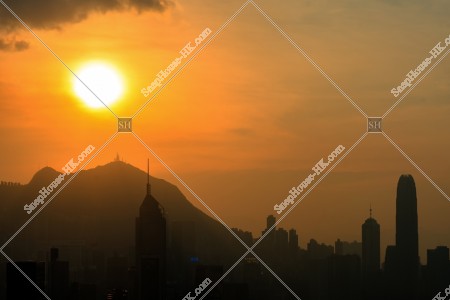
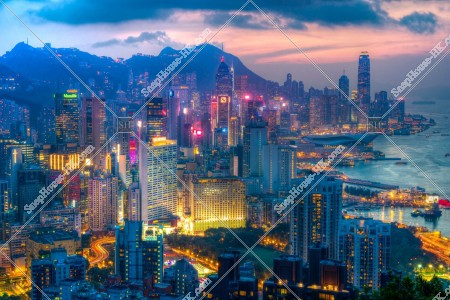
Dusk view with high-rise buildings, No.1
Night view of high-rise buildings at Wan Chai to Central, No.2
Night view of high-rise buildings at Causeway Bay to Central, No.1
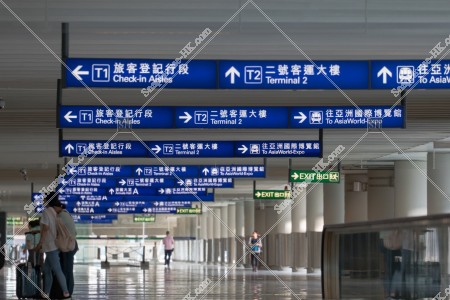
Signboards at Terminal 1, Hong Kong International Airport
Urban taxis at Terminal 1, Hong Kong International Airport, No.3
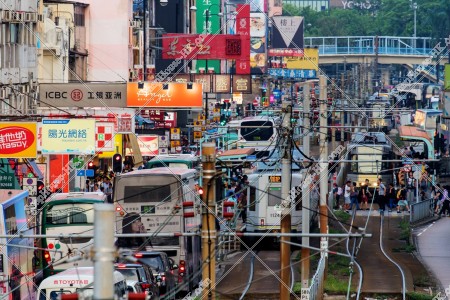
Street view of Yuen Long with Light Rail, No.9
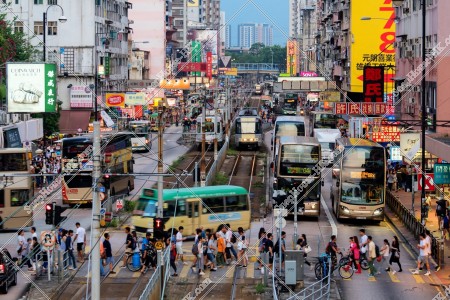
Street view of Yuen Long with Light Rail, No.12
Shops at Wong Tai Sin Temple, No.4
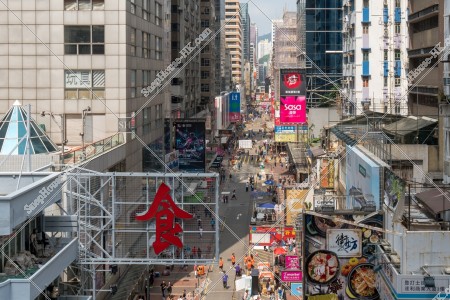
Street view of Sai Yeung Choi Street with people, Mong Kok, No.3
 © 2017-2018 SnapHouse HK. All Rights Reserved.