
 Daytime View
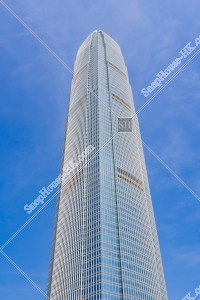
View at the top of ifc2
![ifc2 and Hong Kong Observation Wheel [Landscape][Close-up photograph]](https://snaphouse-hk.com/media/catalog/product/cache/2/small_image/x300/9ca8b823a32ad5763258b89815996a85/S/H/SHHK8917351001309804104L_M.jpg)
ifc2 and Hong Kong Observation Wheel [Landscape][Close-up photograph]
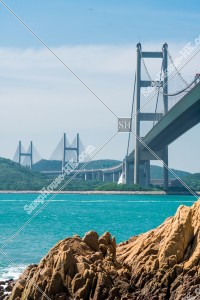
Ma Wan Channel beach
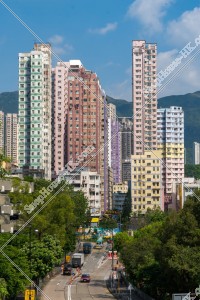
Street view of Wong Tai Sin, No.4
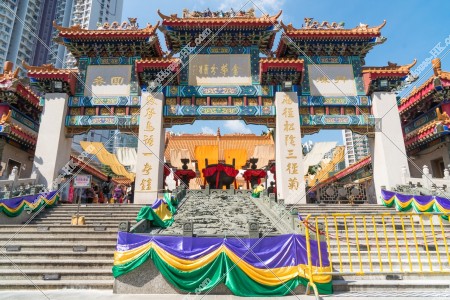
Jinhua Heritage Pai-fong(金華分蹟牌坊) at Wong Tai Sin Temple, No.2
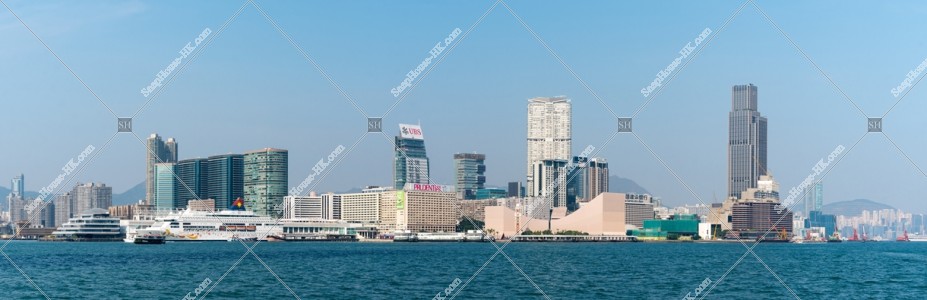
Panoramic view at noon of Tsim Sha Tsui
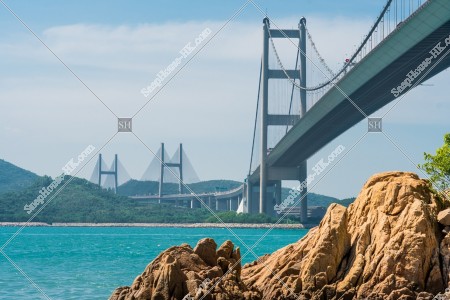
Tsing Ma Bridge with Ma Wan Channel, No.1
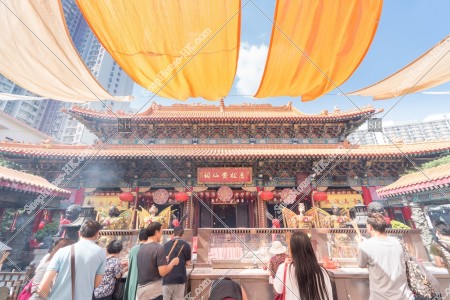
The Main Altar(黃大仙師寶殿) at Wong Tai Sin Temple, No.2
![ifc2 and The Hong Kong Observation Wheel [Portrait][Close-up photograph] ②](https://snaphouse-hk.com/media/catalog/product/cache/2/small_image/x300/9ca8b823a32ad5763258b89815996a85/S/H/SHHK8917351001309804155L_M.jpg)
ifc2 and The Hong Kong Observation Wheel [Portrait][Close-up photograph] ②
![Hong Kong Observation Wheel and the group of buildings at North Point [Close-up photograph] ④](https://snaphouse-hk.com/media/catalog/product/cache/2/small_image/x300/9ca8b823a32ad5763258b89815996a85/S/H/SHHK8917351001309804637L_M.jpg)
Hong Kong Observation Wheel and the group of buildings at North Point [Close-up photograph] ④
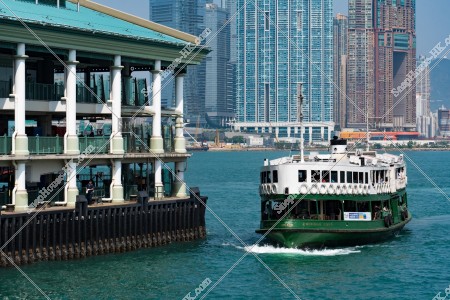
Star Ferry Pier arrived at Star ferry Berth
![Hong Kong Observation Wheel and the high-rise buildings of Wan Chai [Close-up photograph]⑥](https://snaphouse-hk.com/media/catalog/product/cache/2/small_image/x300/9ca8b823a32ad5763258b89815996a85/S/H/SHHK8917351001309804617L_M.jpg)
Hong Kong Observation Wheel and the high-rise buildings of Wan Chai [Close-up photograph]⑥
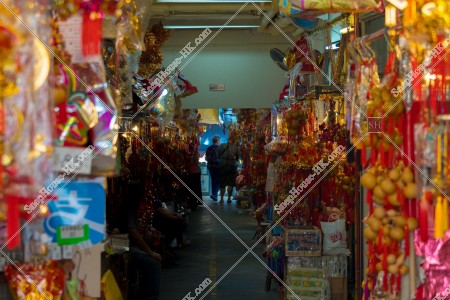
Shops at Wong Tai Sin Temple, No.3
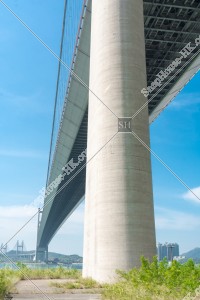
Tsing Ma Bridge with blue sky, No.6
![The upper part of ifc2 and the Hong Kong Observation Wheel [Portrait]](https://snaphouse-hk.com/media/catalog/product/cache/2/small_image/x300/9ca8b823a32ad5763258b89815996a85/S/H/SHHK8917351001309804220L_M.jpg)
The upper part of ifc2 and the Hong Kong Observation Wheel [Portrait]
![The view of Hong Kong Observation Wheel and the buildings of Wan Chai [Close-up photograph]②](https://snaphouse-hk.com/media/catalog/product/cache/2/small_image/x300/9ca8b823a32ad5763258b89815996a85/S/H/SHHK8917351001309804625L_M.jpg)
The view of Hong Kong Observation Wheel and the buildings of Wan Chai [Close-up photograph]②
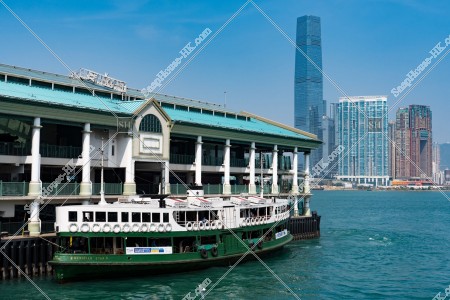
Star Ferry Pier arrived at Star ferry Berth
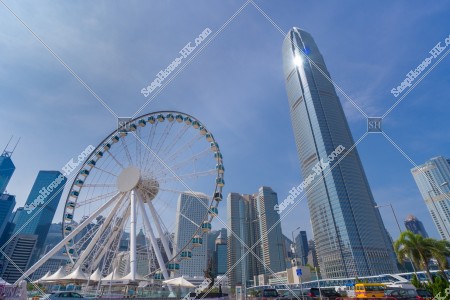
The view of Central at afternoon.
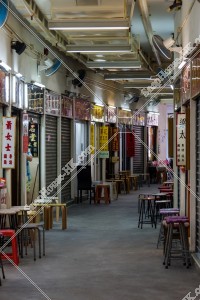
Wong Tai Sin Fortune-telling and Oblation Arcade at Wong Tai Sin Temple, No.1
![Hong Kong Observation Wheel and the view of group of high-rise buildings [Portrait] [Close-up photograph] ③](https://snaphouse-hk.com/media/catalog/product/cache/2/small_image/x300/9ca8b823a32ad5763258b89815996a85/S/H/SHHK8917351001309804675L_M.jpg)
Hong Kong Observation Wheel and the view of group of high-rise buildings [Portrait] [Close-up photograph] ③
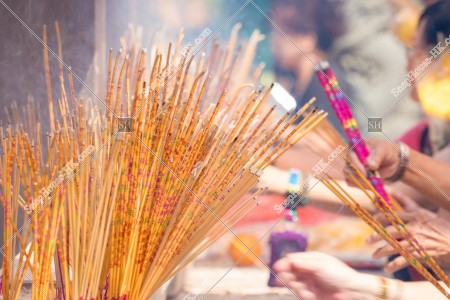
Bless Incense at Wong Tai Sin Temple
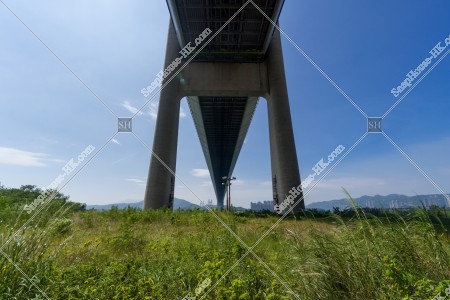
Tsing Ma Bridge with blue sky, No.10
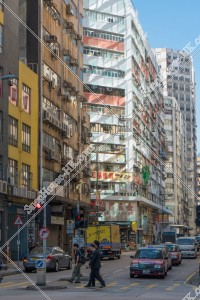
Street view of Kowloon Bay
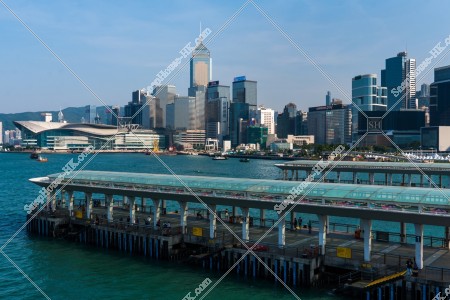
Star Ferry of Central and the high-rise buildings of Wan Chai
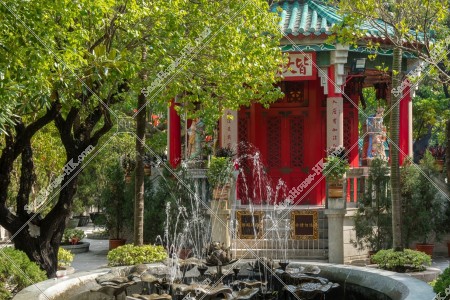
Yue Heung Shrine(盂香亭) at Wong Tai Sin Temple, No.1
![The Hong Kong Observation Wheel and the Center [Landscape]](https://snaphouse-hk.com/media/catalog/product/cache/2/small_image/x300/9ca8b823a32ad5763258b89815996a85/S/H/SHHK8917351001309804158L_M.jpg)
The Hong Kong Observation Wheel and the Center [Landscape]
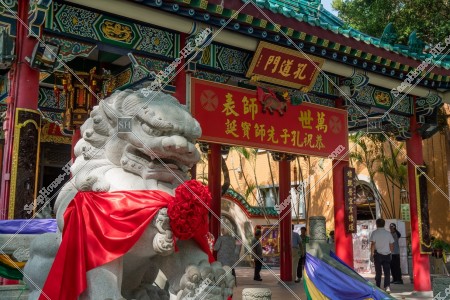
Confucian Veranda(孔道門) at Wong Tai Sin Temple, No.2
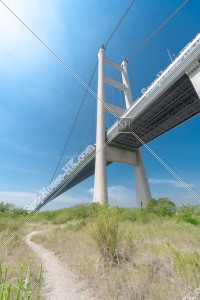
Tsing Ma Bridge with blue sky, No.5
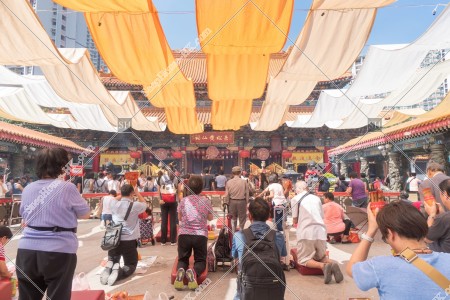
The Main Altar(黃大仙師寶殿) at Wong Tai Sin Temple, No.3
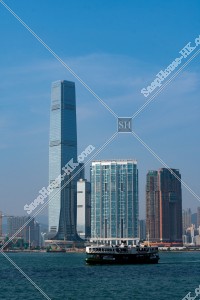
high-rise building and the Star Ferry at West Kowloon
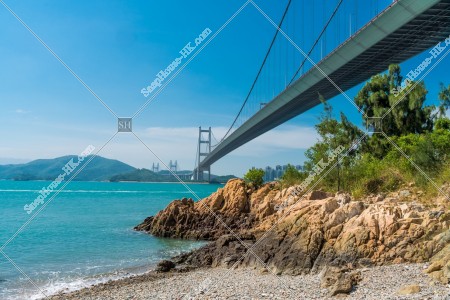
Tsing Ma Bridge with Ma Wan Channel beach, No.3
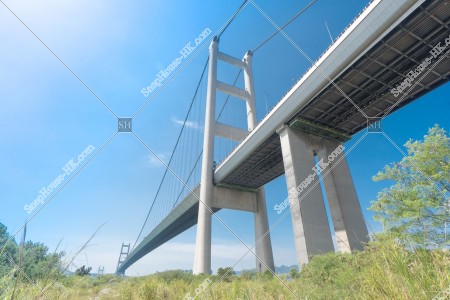
Tsing Ma Bridge with Ma Wan Channel, No.2
![Hong Kong Observation Wheel and the Central Plaza [Landscape] ②](https://snaphouse-hk.com/media/catalog/product/cache/2/small_image/x300/9ca8b823a32ad5763258b89815996a85/S/H/SHHK8917351001309804678L_M.jpg)
Hong Kong Observation Wheel and the Central Plaza [Landscape] ②
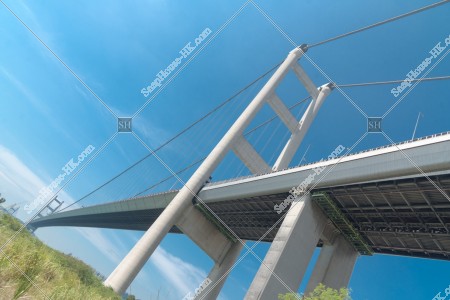
Tsing Ma Bridge with blue sky, No.1
![The Hong Kong Observation Wheel [Close-up photograph]](https://snaphouse-hk.com/media/catalog/product/cache/2/small_image/x300/9ca8b823a32ad5763258b89815996a85/S/H/SHHK8917351001309804205L_M.jpg)
The Hong Kong Observation Wheel [Close-up photograph]
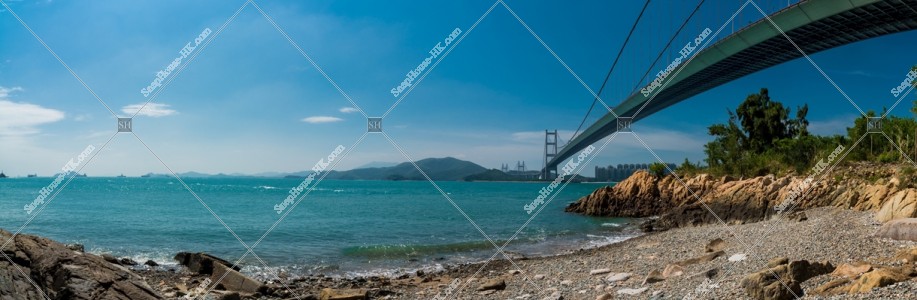
Tsing Ma Bridge with Ma Wan Channel, No.3
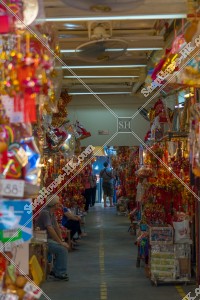
Shops at Wong Tai Sin Temple, No.4
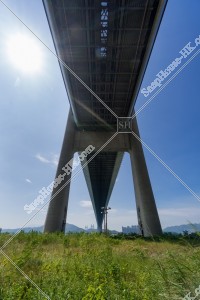
Tsing Ma Bridge with blue sky, No.13
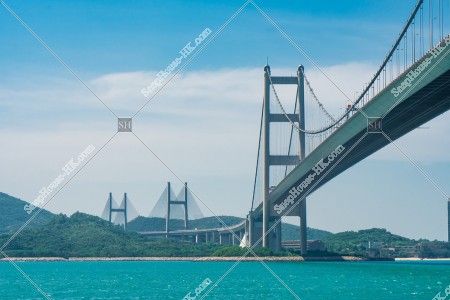
Tsing Ma Bridge with Ma Wan Channel beach, No.2
![View of the Hong Kong Observation Wheel and the high-rise buildings at Wan Chai [Landscape] [Close-up photograph] ④](https://snaphouse-hk.com/media/catalog/product/cache/2/small_image/x300/9ca8b823a32ad5763258b89815996a85/S/H/SHHK8917351001309804499L_M.jpg)
View of the Hong Kong Observation Wheel and the high-rise buildings at Wan Chai [Landscape] [Close-up photograph] ④
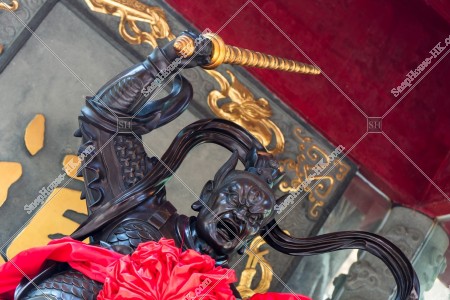
Wang Ling-guan Shrine(王靈官殿) at Wong Tai Sin Temple
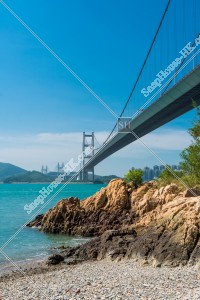
Tsing Ma Bridge with Ma Wan Channel beach, No.1
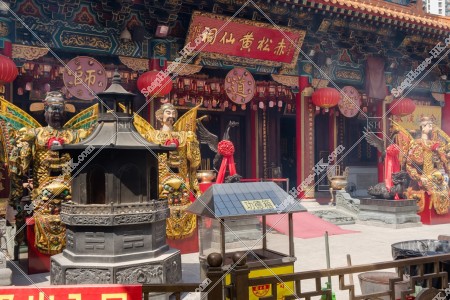
The Main Altar(黃大仙師寶殿) at Wong Tai Sin Temple, No.1
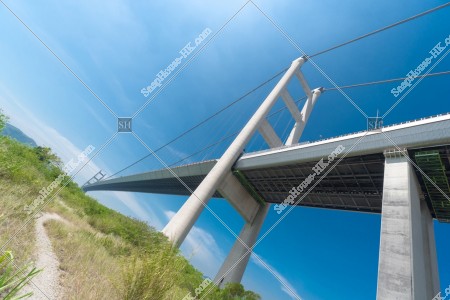
Tsing Ma Bridge with blue sky, No.4
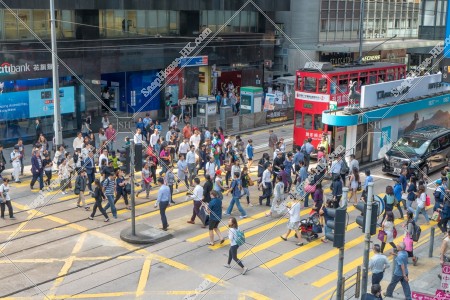
People across the road at Central
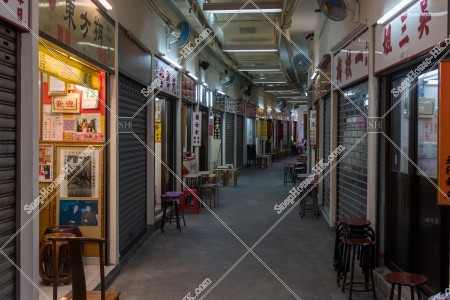
Wong Tai Sin Fortune-telling and Oblation Arcade at Wong Tai Sin Temple, No.2
![The view of Hong Kong Observation Wheel and the buildings of Wan Chai [Close-up photograph]⑧](https://snaphouse-hk.com/media/catalog/product/cache/2/small_image/x300/9ca8b823a32ad5763258b89815996a85/S/H/SHHK8917351001309804627L_M.jpg)
The view of Hong Kong Observation Wheel and the buildings of Wan Chai [Close-up photograph]⑧
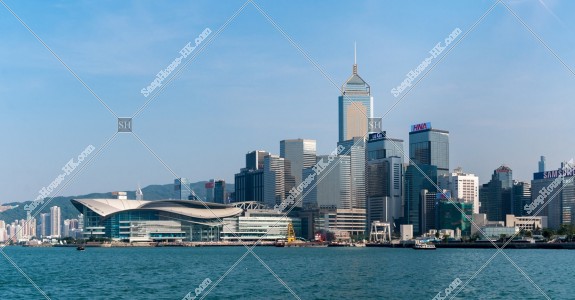
View of high-rise building at Wan Chai
 Legal
Legal Quick Links
 Guide
Guide SnapHouse HK
 Account
 © 2017-2018 SnapHouse HK. All Rights Reserved.