Search results for 'Transport / Transportation'
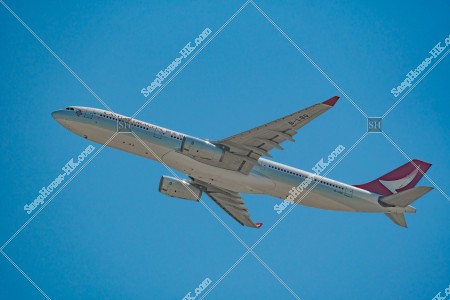
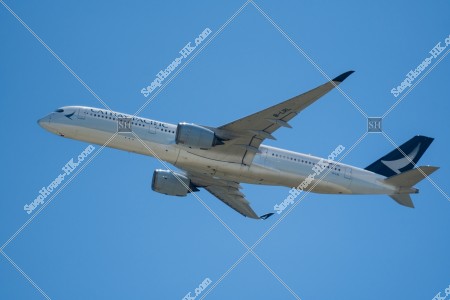
Cathay Dragon Airplane, No.3
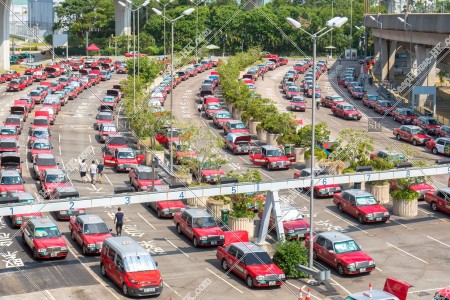
Urban taxis at Terminal 1, Hong Kong International Airport, No.2
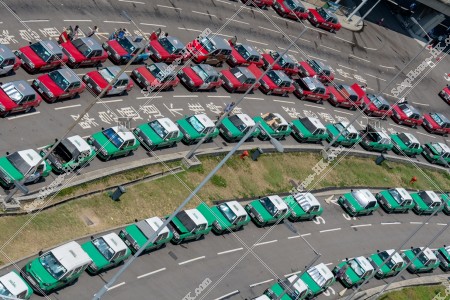
Urban taxis and New Territories taxis at Terminal 1, Hong Kong International Airport, No.2
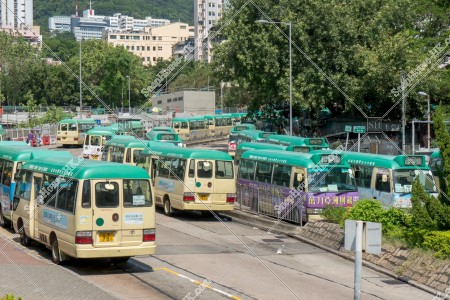
Mini Bus Terminal bus stop, No.1
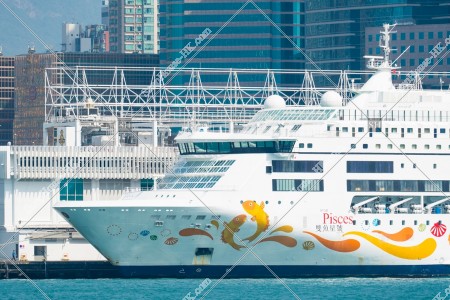
Luxury cruise ship stopping in Tsim Sha Tsui
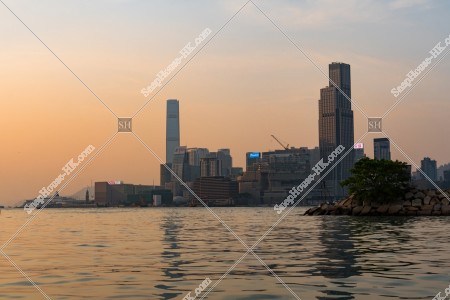
Sunset view of Kowloon Peninsula from Causeway Bay
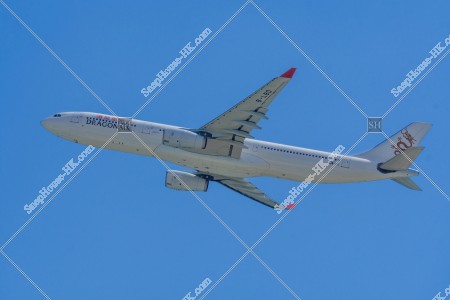
Cathay Dragon Airplane, No.1
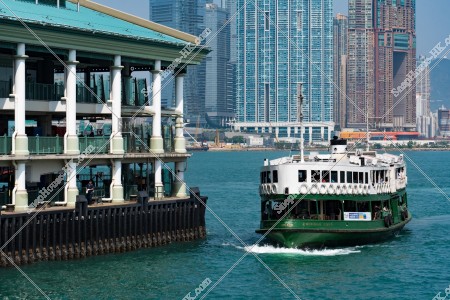
Star Ferry Pier arrived at Star ferry Berth
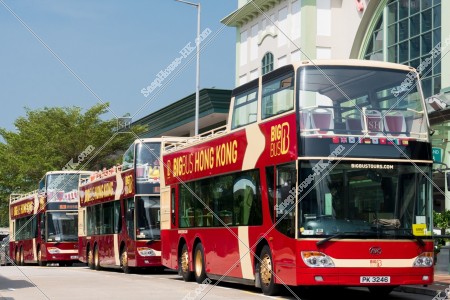
Sightseeing bus "BIG BUS" in stopping

Street view of Sai Yeung Choi Street with people, Mong Kok, No.7
![Packing of Star Ferry Pier 10 Berth at Central [Inside view]](https://snaphouse-hk.com/media/catalog/product/cache/2/small_image/x300/9ca8b823a32ad5763258b89815996a85/S/H/SHHK8917351001309804142L_M.jpg)
Packing of Star Ferry Pier 10 Berth at Central [Inside view]
![The Hong Kong Observation Wheel and the Center [Landscape]](https://snaphouse-hk.com/media/catalog/product/cache/2/small_image/x300/9ca8b823a32ad5763258b89815996a85/S/H/SHHK8917351001309804158L_M.jpg)
The Hong Kong Observation Wheel and the Center [Landscape]
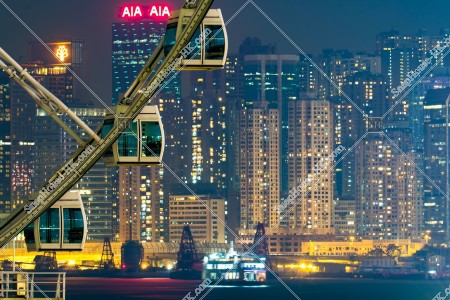
The Hong Kong Observation Wheel and North Point buildings at night, Central
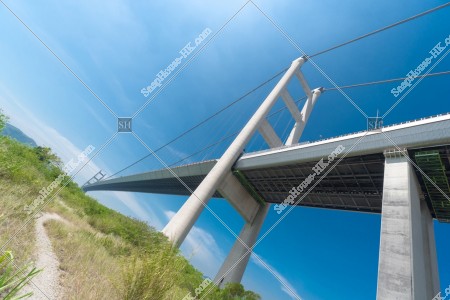
Tsing Ma Bridge with blue sky, No.4
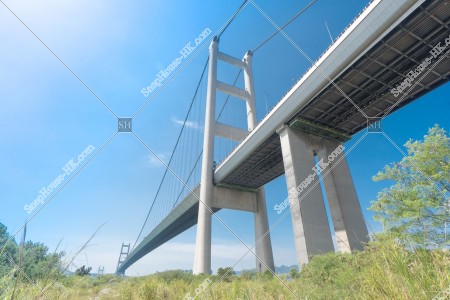
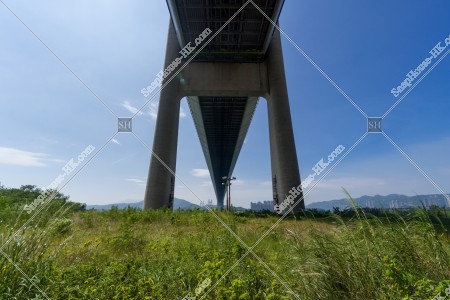
Tsing Ma Bridge with Ma Wan Channel beach, No.3
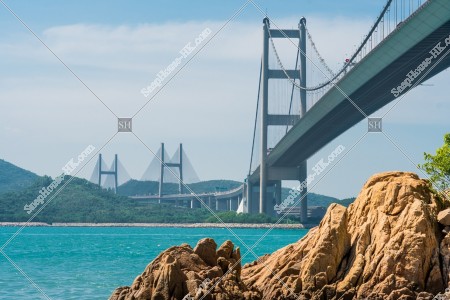
Tsing Ma Bridge with Ma Wan Channel, No.1
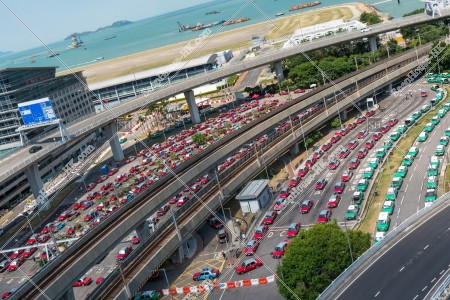
Urban taxis and New Territories taxis at Terminal 1, Hong Kong International Airport, No.1
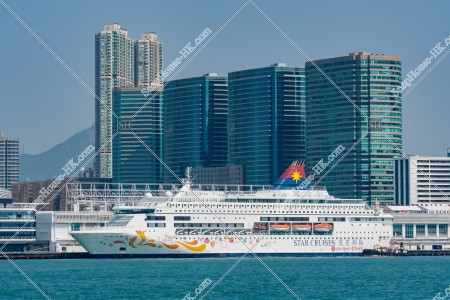
Luxury cruise ship in stopping and Tsim Sha Tsui
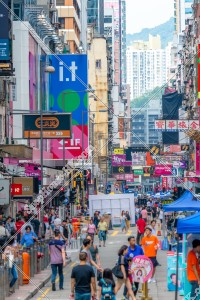
Street view of Sai Yeung Choi Street with people, Mong Kok, No.8
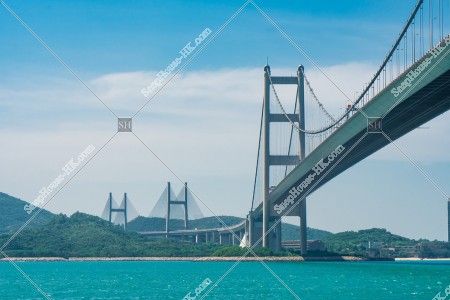
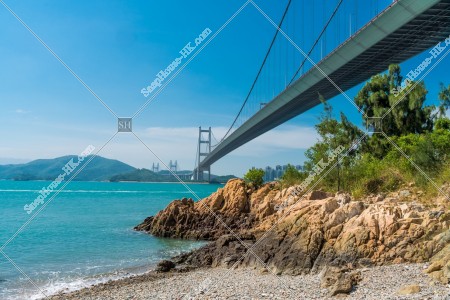
Tsing Ma Bridge with Ma Wan Channel beach, No.2
![The Hong Kong Observation Wheel and the skyline [Close-up photograph]](https://snaphouse-hk.com/media/catalog/product/cache/2/small_image/x300/9ca8b823a32ad5763258b89815996a85/S/H/SHHK8917351001309804109L_M.jpg)
The Hong Kong Observation Wheel and the skyline [Close-up photograph]
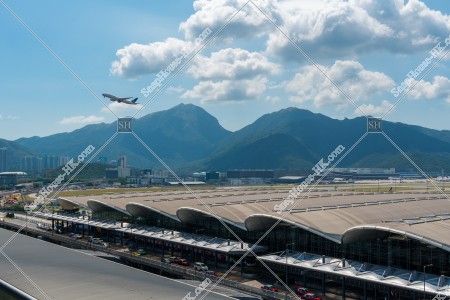
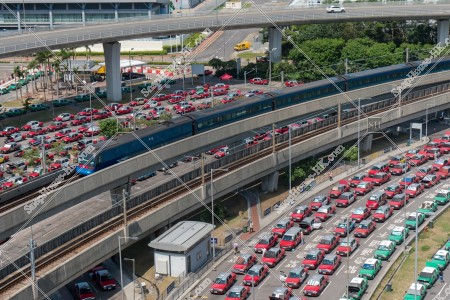
Landscape of Terminal 1, view from SkyDeck at Hong Kong International Airport, No.1
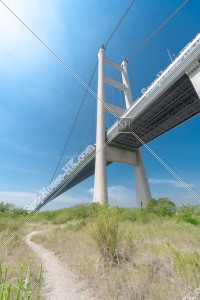
Tsing Ma Bridge with blue sky, No.5
TheHong Kong Observation Wheel and Central buildings at night, Central
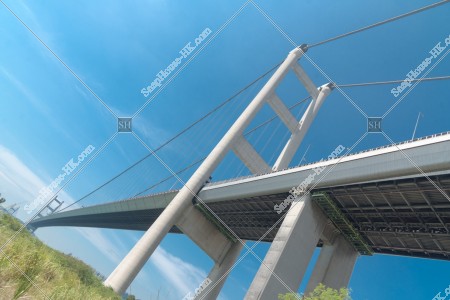
Tsing Ma Bridge with blue sky, No.1
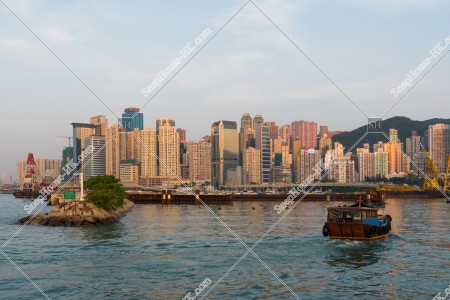
Evening view of North Point with a boat from Typhoon Shelter of Causeway Bay
Tsing Ma Bridge with blue sky, No.10
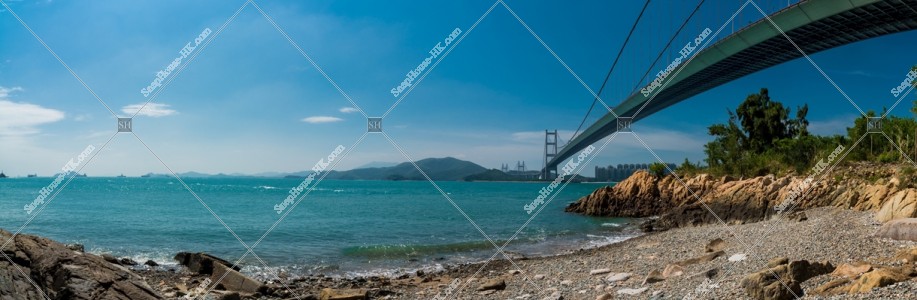
Tsing Ma Bridge with Ma Wan Channel, No.3
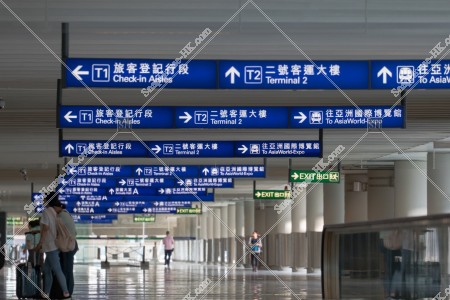
Signboards at Terminal 1, Hong Kong International Airport
![The upper part of ifc2 and the Hong Kong Observation Wheel [Portrait]](https://snaphouse-hk.com/media/catalog/product/cache/2/small_image/x300/9ca8b823a32ad5763258b89815996a85/S/H/SHHK8917351001309804220L_M.jpg)
The upper part of ifc2 and the Hong Kong Observation Wheel [Portrait]
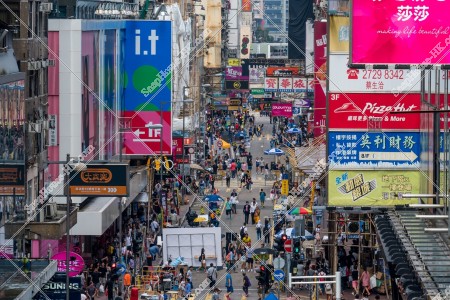
Street view of Sai Yeung Choi Street with people, Mong Kok, No.6
![ifc2 and Hong Kong Observation Wheel [Landscape][Close-up photograph]](https://snaphouse-hk.com/media/catalog/product/cache/2/small_image/x300/9ca8b823a32ad5763258b89815996a85/S/H/SHHK8917351001309804104L_M.jpg)
ifc2 and Hong Kong Observation Wheel [Landscape][Close-up photograph]
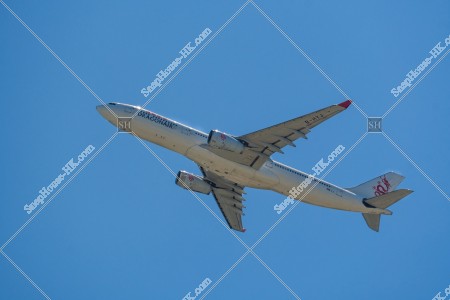
Cathay Dragon Airplane, No.2
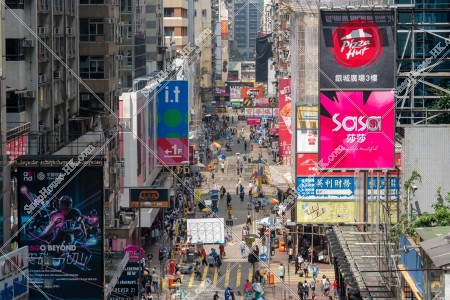
Street view of Sai Yeung Choi Street with people, Mong Kok, No.5
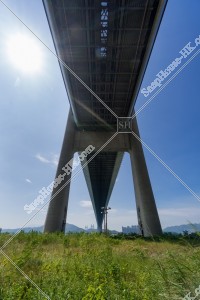
Tsing Ma Bridge with blue sky, No.13
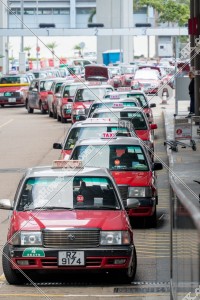
Urban taxis at Terminal 1, Hong Kong International Airport, No.3
Cathay Pacific Airplane, No.1
![Star Ferry Pier 10 Berth at Central [Side view]](https://snaphouse-hk.com/media/catalog/product/cache/2/small_image/x300/9ca8b823a32ad5763258b89815996a85/S/H/SHHK8917351001309804148L_M.jpg)
Star Ferry Pier 10 Berth at Central [Side view]
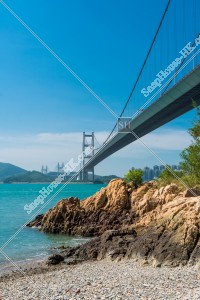
Tsing Ma Bridge with Ma Wan Channel beach, No.1
![The Hong Kong Observation Wheel [Close-up photograph]](https://snaphouse-hk.com/media/catalog/product/cache/2/small_image/x300/9ca8b823a32ad5763258b89815996a85/S/H/SHHK8917351001309804205L_M.jpg)
The Hong Kong Observation Wheel [Close-up photograph]
Urban taxis and New Territories taxis at Terminal 1, Hong Kong International Airport, No.3
![ifc2 and The Hong Kong Observation Wheel [Portrait][Close-up photograph] ②](https://snaphouse-hk.com/media/catalog/product/cache/2/small_image/x300/9ca8b823a32ad5763258b89815996a85/S/H/SHHK8917351001309804155L_M.jpg)
ifc2 and The Hong Kong Observation Wheel [Portrait][Close-up photograph] ②

The view of Central at afternoon.
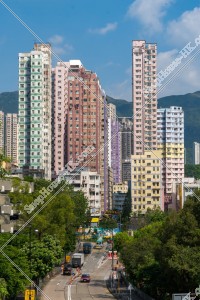
Street view of Wong Tai Sin, No.4

Urban taxis and New Territories taxis at Terminal 1, Hong Kong International Airport, No.4
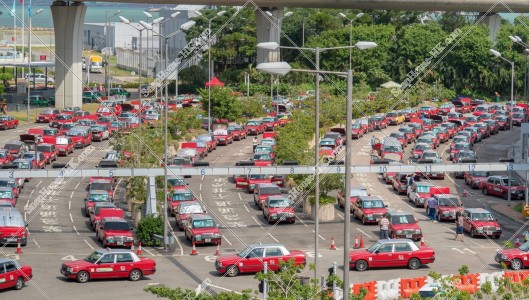
Urban taxis at Terminal 1, Hong Kong International Airport, No.1
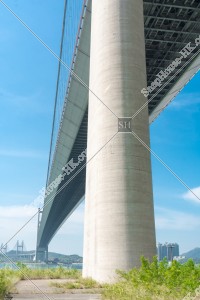
Tsing Ma Bridge with blue sky, No.6
Tsing Ma Bridge with Ma Wan Channel, No.2
 © 2017-2018 SnapHouse HK. All Rights Reserved.