Search results for '晴れ 晴天'
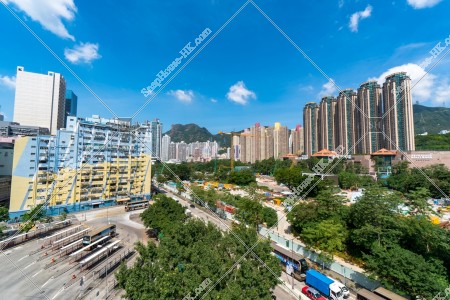
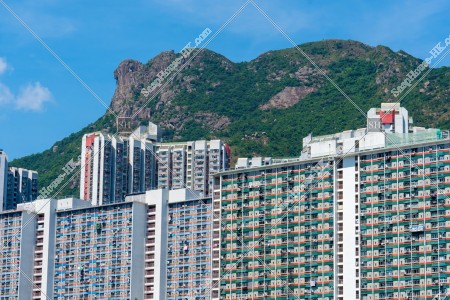
Lion Rock and street view of Diamond Hill, No.2
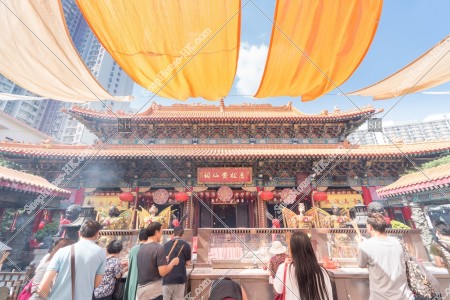
The Main Altar(黃大仙師寶殿) at Wong Tai Sin Temple, No.2
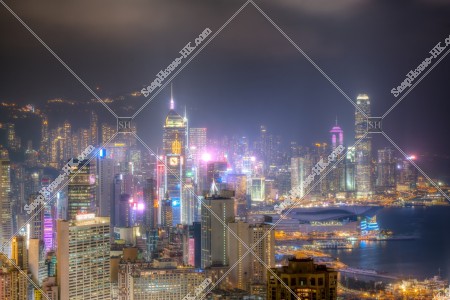
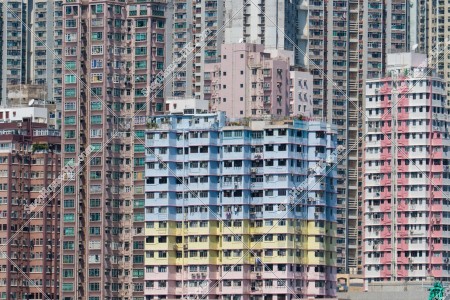
Night view of high-rise buildings at Wan Chai to Central, No.2
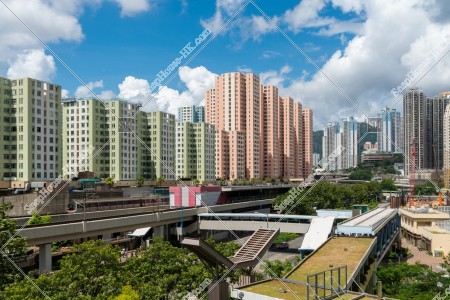
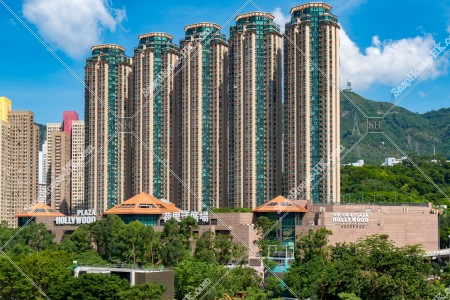
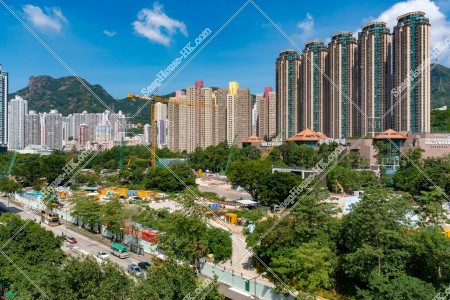
Townscape of Kowloon Bay, No.3
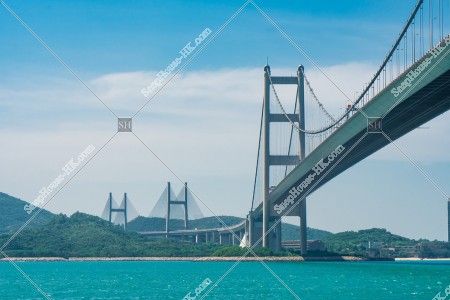
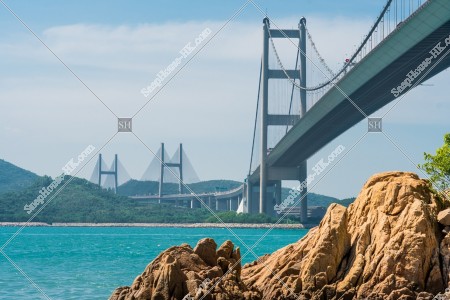
Tsing Ma Bridge with blue sky, No.5
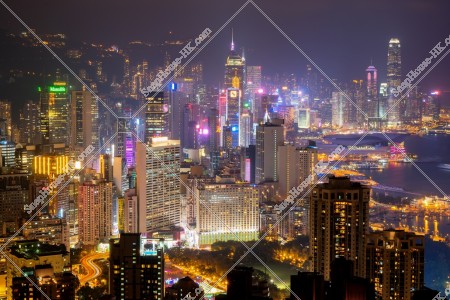
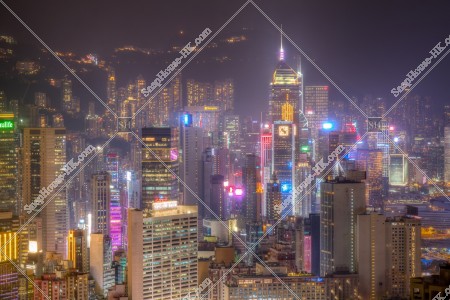
Night view of high-rise buildings at Causeway Bay to Central, No.3
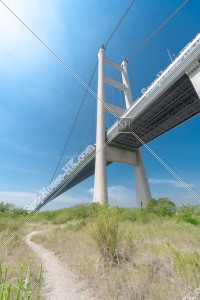
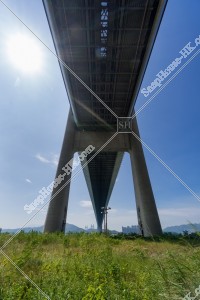
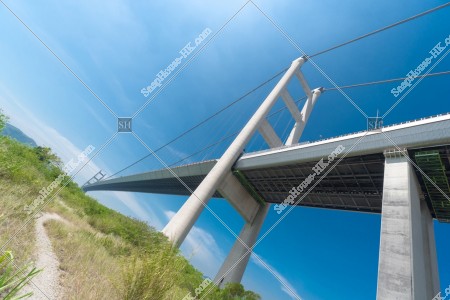
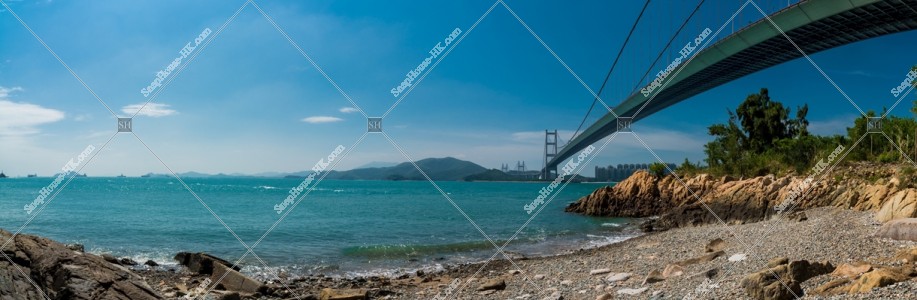
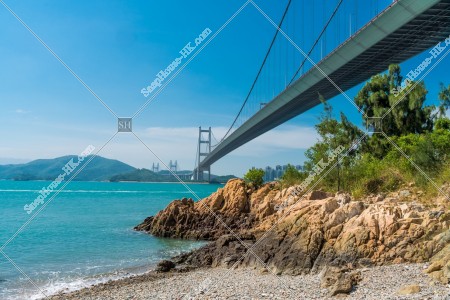
Tsing Ma Bridge with Ma Wan Channel beach, No.2
Night view of high-rise buildings at Wan Chai, No.2
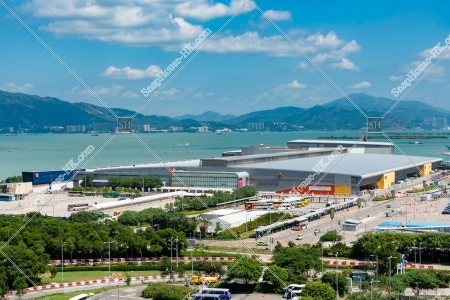
AsiaWorld-Expo, Chek Lap Kok, No.1
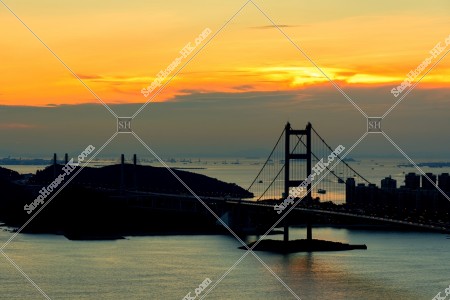
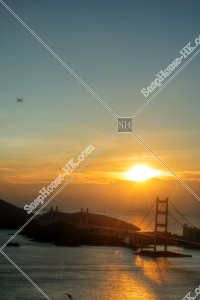
Tsing Ma Bridge in sunset time, No.2
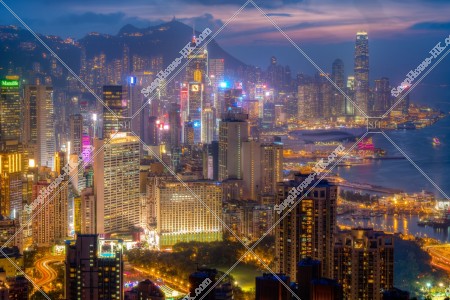
Night view of high-rise buildings at Causeway Bay to Central, No.2
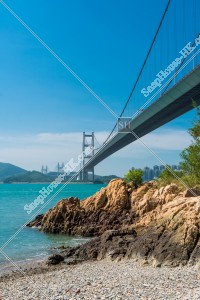
Tsing Ma Bridge with Ma Wan Channel beach, No.1
The gate of Wong Tai Sin Temple, No.2
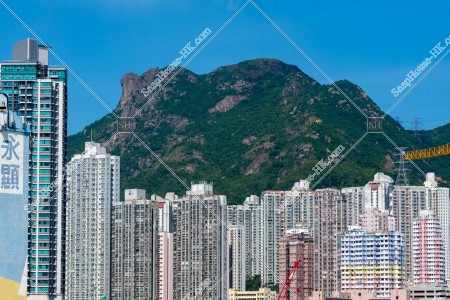
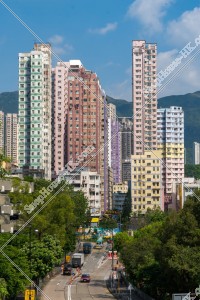
Lion Rock and street view of Wong Tai Sin, No.3
Tsing Ma Bridge with blue sky, No.13
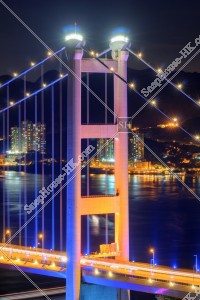
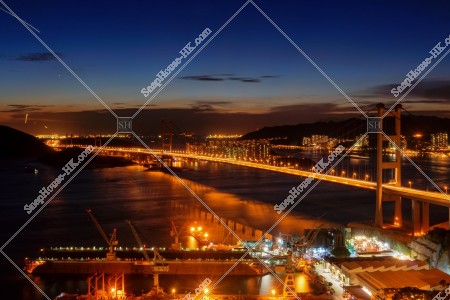
Tsing Ma Bridge at night, No.5
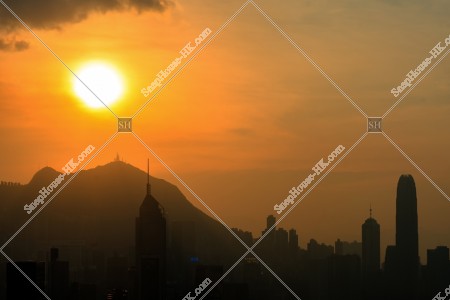
Dusk view with high-rise buildings, No.1
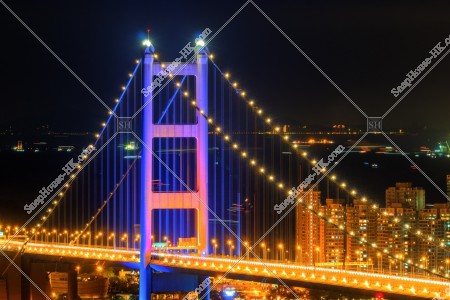
Tsing Ma Bridge at night, No.4
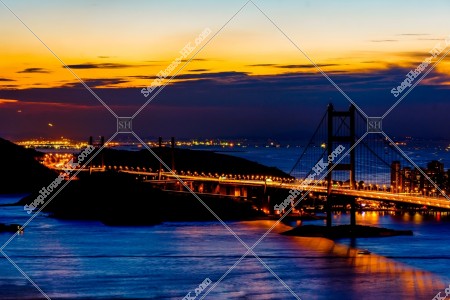
Tsing Ma Bridge in sunset time, No.3
View of buildings at Wong Tai Sin, No.2
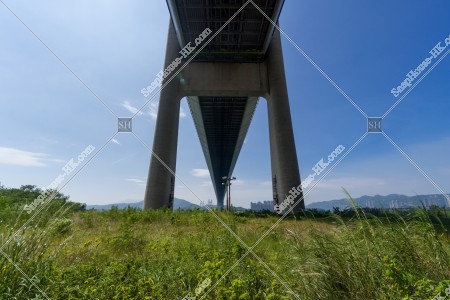
Tsing Ma Bridge with blue sky, No.10
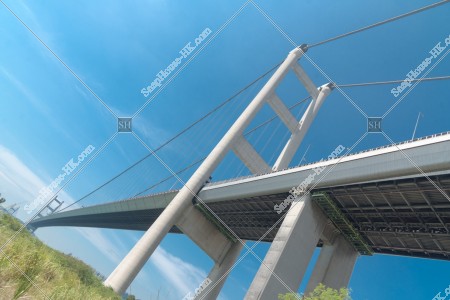
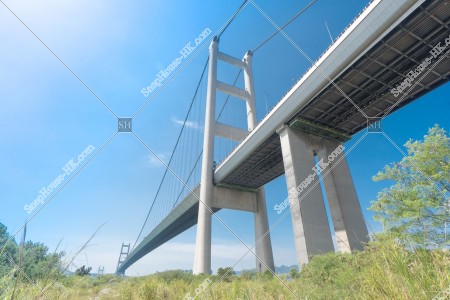
Tsing Ma Bridge with blue sky, No.1
Landscape of Diamond Hill, No.1
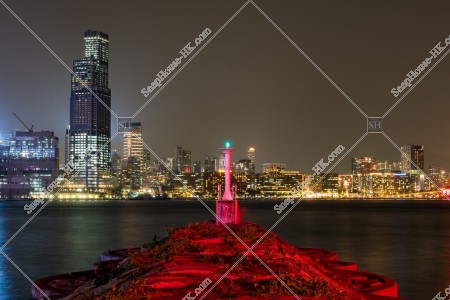
Lighthouse and kowloon peninsula at Hong Kong Island at night
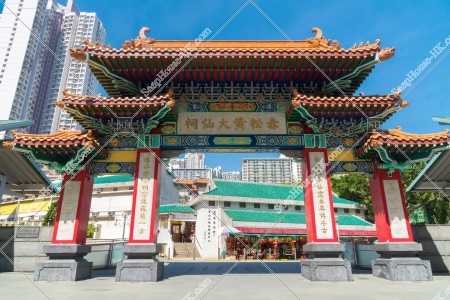
The gate of Wong Tai Sin Temple, No.3

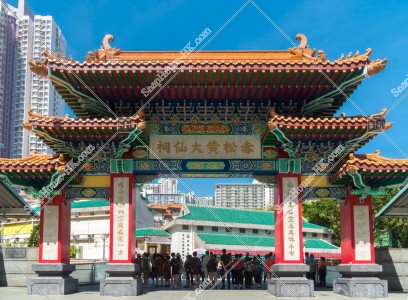
Jinhua Heritage Pai-fong(金華分蹟牌坊) at Wong Tai Sin Temple, No.2
Tsing Ma Bridge with blue sky, No.4
![Sunset view of Central [Portrait]](https://snaphouse-hk.com/media/catalog/product/cache/2/small_image/x300/9ca8b823a32ad5763258b89815996a85/S/H/SHHK8917351001309804915HL_M.jpg)
Sunset view of Central [Portrait]
Tsing Ma Bridge with Ma Wan Channel beach, No.3
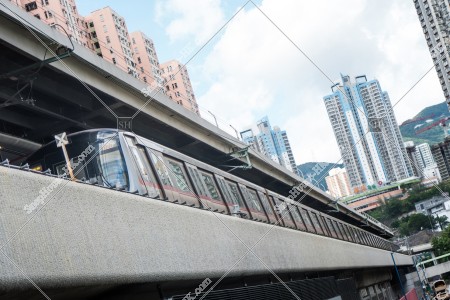
MTR train stopping at the station, No.2
Tsing Ma Bridge with Ma Wan Channel, No.3
Tsing Ma Bridge with sunset, No.5
Tsing Ma Bridge with Ma Wan Channel, No.1
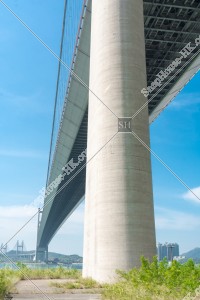
Tsing Ma Bridge with blue sky, No.6
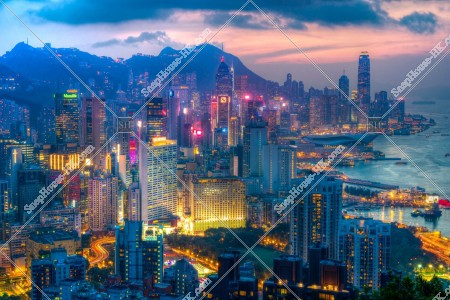
Night view of high-rise buildings at Causeway Bay to Central, No.1
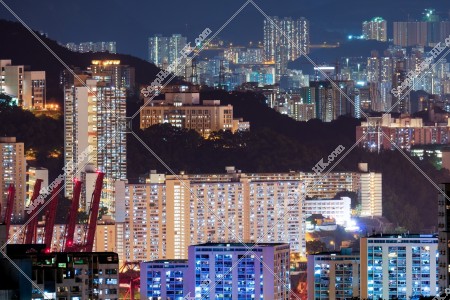
View of Tsuen Wan District at night
Tsing Ma Bridge with Ma Wan Channel, No.2
Lion Rock and street view of Diamond Hill, No.3
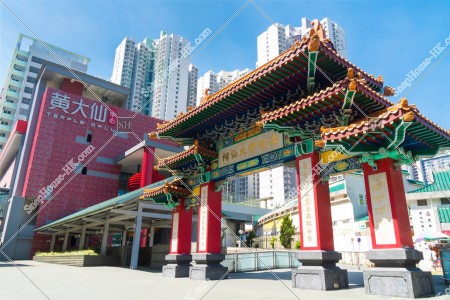
The gate of Wong Tai Sin Temple, No.4
Street view of Wong Tai Sin, No.4
Lion Rock and street view of Wong Tai Sin, No.6
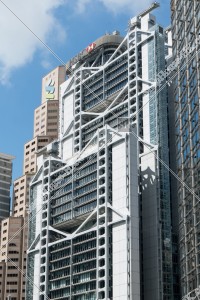
South side of HSBC Main Building
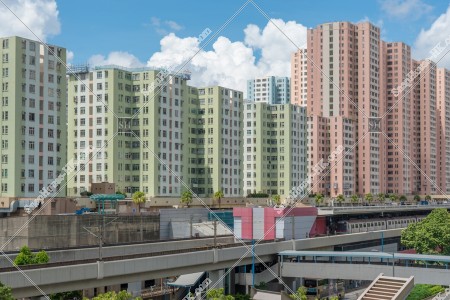
Townscape of Kowloon Bay, No.4
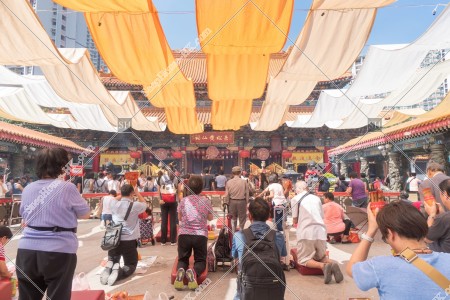
The Main Altar(黃大仙師寶殿) at Wong Tai Sin Temple, No.3
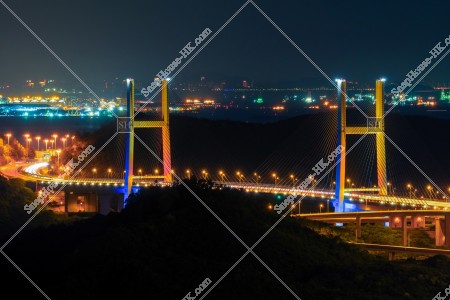
Tsing Ma Bridge at night, No.3
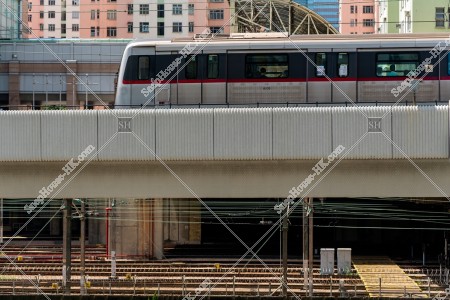
A moving train, MTR Kwun Tong Line, No.11
Tsing Ma Bridge in sunset time, No.4
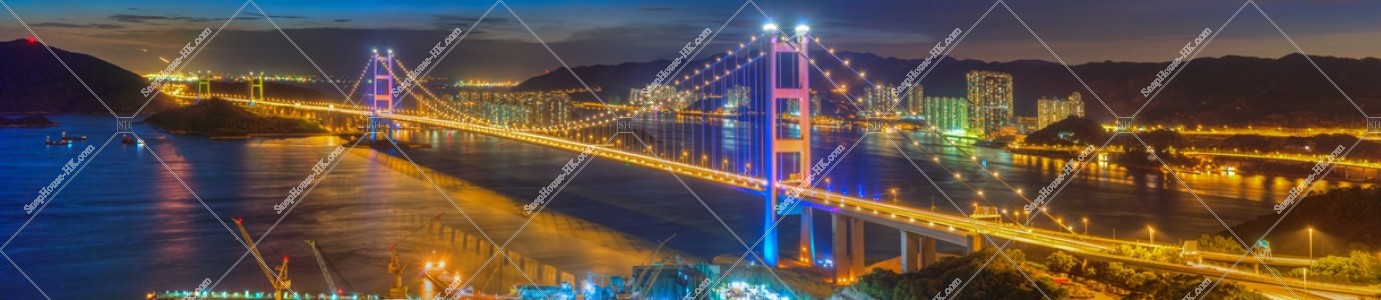
Panoramatic view of Tsing Ma Bridge at night, No.1
 © 2017-2018 SnapHouse HK. All Rights Reserved.